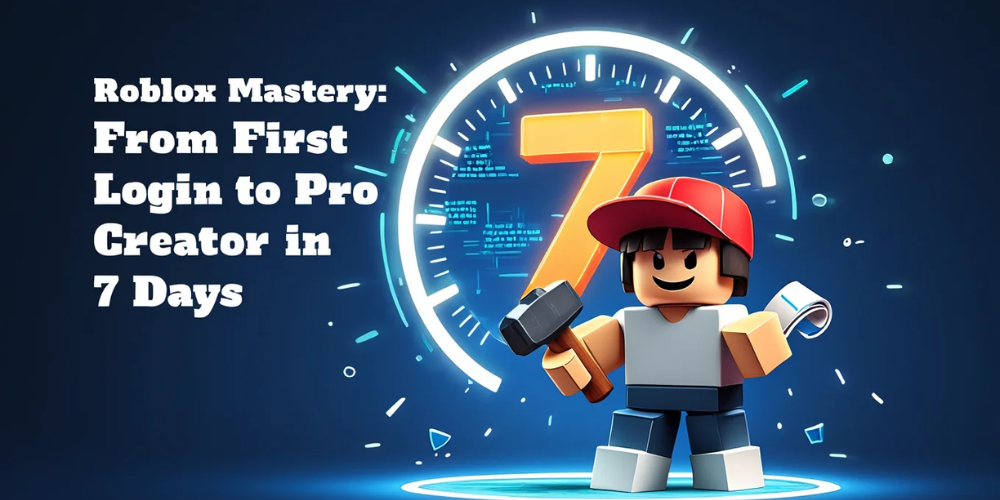
Roblox Mastery: From First Login to Pro Creator in 7 Days
Imagine one giant digital theme park where you can hop on a pirate roller-coaster, build your own city, and earn real money—without leaving your chair. That’s Roblox. With 70+ million daily users and billions of hours played every month, the platform is a goldmine for gamers, hobby coders, storytellers, and young entrepreneurs. Whether you want pure fun or a future career in game design, Roblox can take you there.
This crash course will walk you from zero to hero in just seven sessions. You’ll learn how to set up safely, discover the best games fast, create (and script) your own experiences, and even make your first Robux. Ready? Let’s dive in.
Session 1 – Getting Started the Right Way
1.1 Create and Secure Your Account
Go to roblox.com or install the Roblox app. Use a throwaway email for sign-up if you’re under 13, then connect a parent’s email later for password recovery. Pick a unique password—three random words plus a number works well. Enable 2-Step Verification in Settings → Security. If you lose your account, you lose all progress, so do this first.
1.2 Set Your Preferences
Under Settings → Privacy, turn on “Account Restrictions” if a younger sibling will share the device. Under Graphics, start with automatic. Low-end laptop? Select “Manual” and drag the slider to 3–4 to reduce lag.
Session 2 – Navigating the Roblox Universe
2.1 Understand the Home Screen
The Home screen shows “Recommended for You,” “Friends Playing,” and “Continue.” Each is a personalized feed. Hover (PC) or long-press (mobile) a thumbnail to see player count, rating %, and a short description.
2.2 Find High-Quality Experiences Fast
- Sort by “Top Rated” instead of “Popular.” Popularity can be botted; ratings can’t.
- Read the last 10 user reviews; ignore flaming, look for patterns like “laggy after 5 mins.”
- Follow star creators (e.g., MiniToon, DreamCraft) via their profile page; their newest games appear in your feed first.
2.3 First Five Must-Try Games
- Adopt Me! – social, trading, and pet culture.
- Jailbreak – cops-vs-robbers with vehicle physics.
- Arsenal – fast FPS to practice aiming.
- Bloxburg – life sim that teaches building and interior design.
- Doors – horror puzzle, great for teamwork and jump scares.
Session 3 – Roblox Studio Basics
3.1 Install and Open
Click “Create” on the top bar, then “Start Creating.” Roblox Studio will download. First launch takes time because it compiles resources.
3.2 Interface Tour
- Explorer – left side, shows every object in the scene.
- Properties – below Explorer, tweaks color, size, and scripts.
- Toolbox – right side, free models, meshes, audio.
- Viewport – middle, your 3D world.
- Play/Stop buttons – top bar for instant testing.
3.3 Your First Scene
Start with the “Baseplate” template. Use the Part tool to drop a block. In Properties → Material choose “Neon” and Color “Hot pink.” Click Scale to stretch it into a glowing runway. Press Play. You just built, saved, and ran an experience in under five minutes.
Session 4 – Scripting with Lua Made Simple
4.1 Why Lua?
Lua is small, readable, and forgiving—perfect for beginners. One script can control lighting, scoreboards, or an entire tycoon.
4.2 Hello World in Roblox
Right-click the glowing runway in Explorer → Insert Object → Script. Delete the default lines and type:
print("Welcome to my first game!")
Press Play, open View → Output, and you’ll see the message. You just executed your first Lua command.
4.3 Basic Gameplay Script
Replace the print line with:
script.Parent.Touched:Connect(function(hit)

  local player = game.Players:GetPlayerFromCharacter(hit.Parent)

  if player then

    player.Character.Humanoid.WalkSpeed = 32

  end

end)
Now anyone who walks on the runway doubles their speed. Notice the plain English flow: “When touched → find player → change speed.”
Session 5 – Level Design and Aesthetics
5.1 Use Color Theory
Limit your palette to three main colors plus one accent. Adopt Me! uses pastels for friendliness; Arsenal uses desaturated tones for intensity.
5.2 Lighting Tricks
- Change Lighting → EnvironmentDiffuseScale to 0.4 for softer shadows.
- Add a ColorCorrectionEffect; set TintColor to light blue for dreamy vibes.
- TimeOfDay = 18:30 instantly gives a golden hour look.
5.3 Sound Matters
Add background music via Toolbox → Audio. Loop at 0.2 volume so it sets mood but never dominates voice chat.
Session 6 – Monetization & Economy
6.1 Robux Basics
Robux is the in-game currency. 1 US$ ≈ 80 Robux (varies). Roblox pays you 70% of the price of any pass or item you sell; 30% goes to the platform.
6.2 Game Passes vs Developer Products
- Game Pass – one-time purchase (e.g., VIP room). Create via “Create” → “Passes.”
- Developer Product – consumable (e.g., +500 coins). Add in Studio under Monetization tab.
6.3 Setting Fair Prices
Check similar games: entry-level passes often sit at 50–100 Robux. Start low, grow your player base, then A/B test higher tiers.
6.4 Payout Methods
Once you earn 30,000 Robux, you can use DevEx (Developer Exchange) to cash out—currently US$105 per 30,000 Robux. You’ll need a verified email, 13+ age setting, and a valid tax form.
Session 7 – Community, Safety, and Next Steps
7.1 Build an Audience
- Create a Roblox Group (100 Robux fee). Name it after your studio.
- Post dev logs every week; transparency breeds loyal players.
- Use social media—Twitter, TikTok, YouTube Shorts—to show funny bugs, speed builds, or upcoming pets.
7.2 Moderation Tools
Add a simple chat filter script or rely on Roblox’s default filter. For larger games, appoint community moderators and offer them in-game perks instead of cash.
7.3 Keep Learning
- Free resources: Developer Hub, AlvinBlox YouTube tutorials.
- Paid but worth it: Udemy “Complete Roblox Lua” course, devforum.roblox.com for advanced discussions.
Conclusion: Your 7-Day Action Plan
Day 1—secure account and explore top games. Day 2—open Roblox Studio and build a simple scene. Day 3—write a “Touched” script. Day 4—polish level design with lighting and sound. Day 5—add a Game Pass. Day 6—launch a beta and gather feedback. Day 7—promote on social, fix bugs, and watch the player count climb.
Remember: small daily steps beat huge once-a-month bursts. Keep backups of your game, test with real friends, and never copy models you don’t understand. Follow this roadmap and, in just one week, you’ll move from curious newbie to confident creator—ready to turn imagination into worlds and worlds into income. See you in the metaverse!


